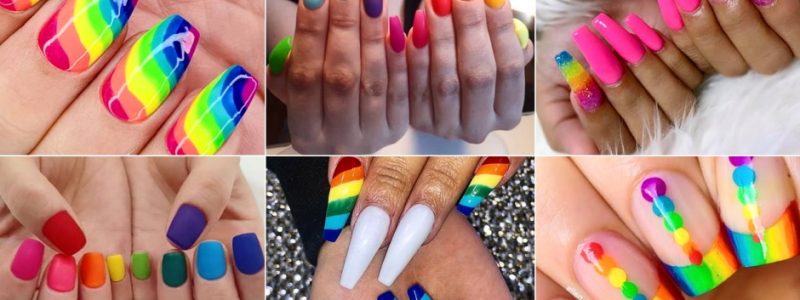
It’s hard to go wrong with bright colors! Rainbow Nails Design is the perfect way for you to feel empowered while giving yourself a manicure. Whether it be a night out on the town or just your daily routine, these nails are sure to put a smile on your face and make you feel beautiful.
Nail art has come so far in recent years. Many nail trends have made their way into mainstream cultures, such as French Manicures and Glitter Nails, but nothing beats rainbow nail designs. They can be worn any time of day and will still pop against whatever outfit you decide to wear them with.
Ways to wear rainbow nails
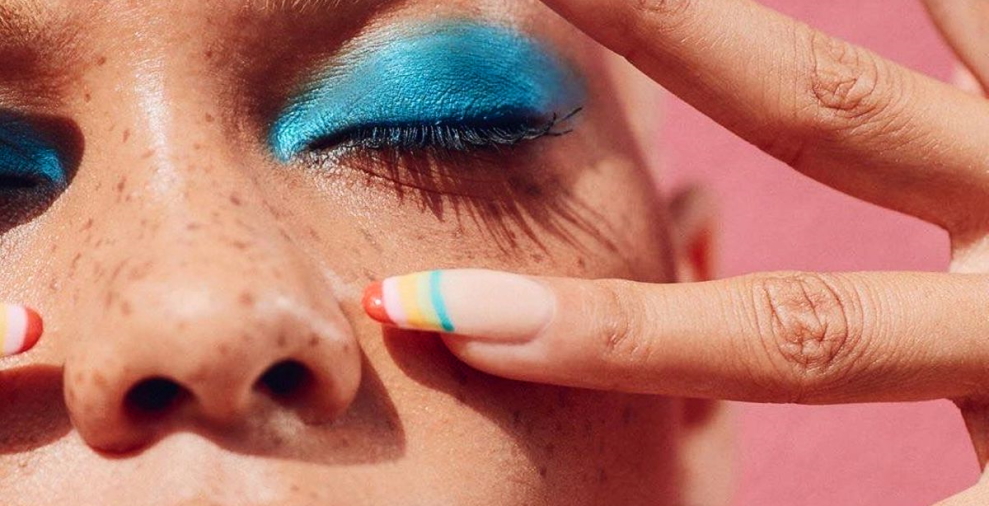
Nail polish is one of the most popular ways to express oneself. It can be a simple, easy way to make a bold statement instantly and show your personality in your everyday life. All you’ll need are a bottle of white nail polish and any other color you want! This design is perfect for summertime or if you’re feeling like being extra colorful. You can even do all different colors for a fantastic striped effect that everyone will love. So get ready as we take on this DIY project together! Let’s get started with our tutorial now so that by the end of it, you’ll have gorgeous rainbow nails too.
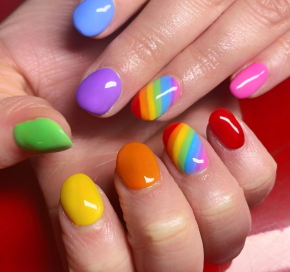
The rainbow nails trend is taking over! You can’t scroll through social media without seeing a nail art of some sort. But what does it take to have this look? There are many different ways you can wear your rainbow nails, depending on the color combinations you want and how long you want to spend on your manicure. If you’re looking for an easy way to spice up your mani, these tips are perfect for any woman who wants a quick and vibrant change in her life.
How to make rainbow nail art designs
 Rainbow Unicorn nails are all the rage this season. Here at Beauty Salon, we will teach you how to create these beautiful nails yourself in 3 simple steps! Let’s get started!
- Step 1: Paint your nail with a light pink base coat and let dry for 2 minutes. (We recommend “Pale Pink”)
- Step 2: Add purple stripes across each of your fingers- make sure to use a different brush for each finger so that they don’t mix. Allow time to dry completely before moving on to the next step.
- Step 3: Now add white lines from the tip of your nail up towards the cuticle, creating a rainbow effect- starting with blue and ending with yellow or orange depending on preference.